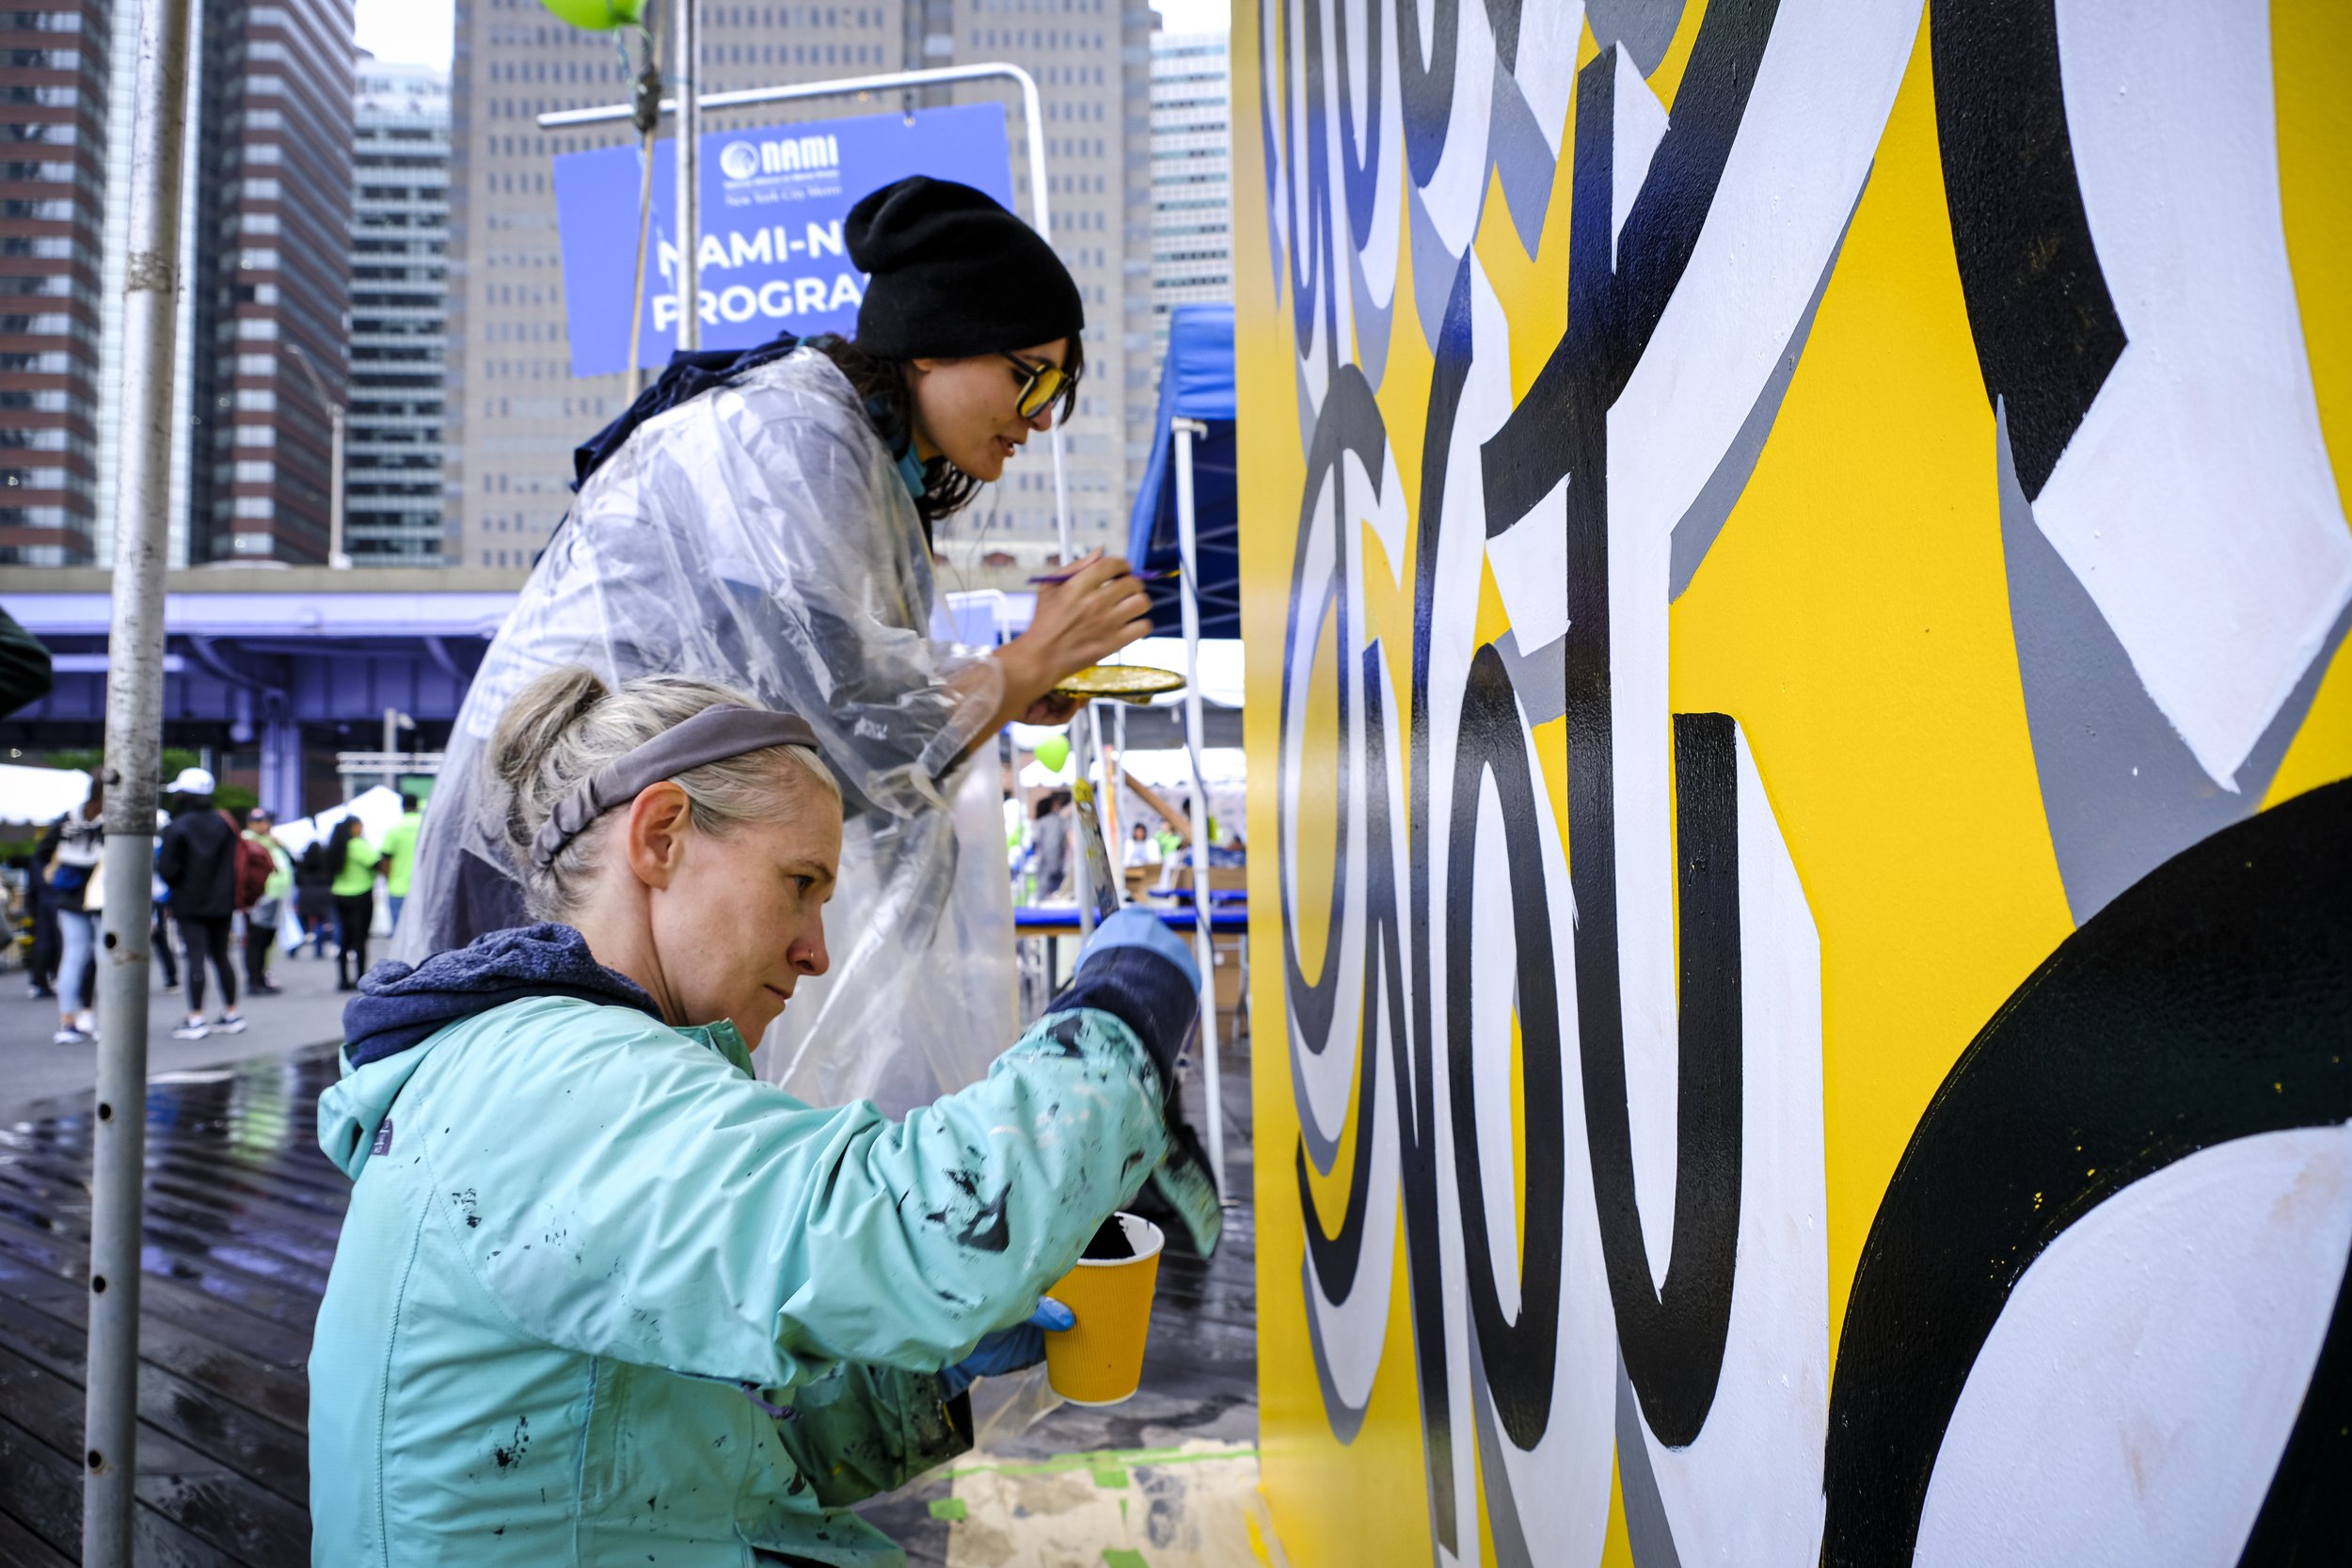
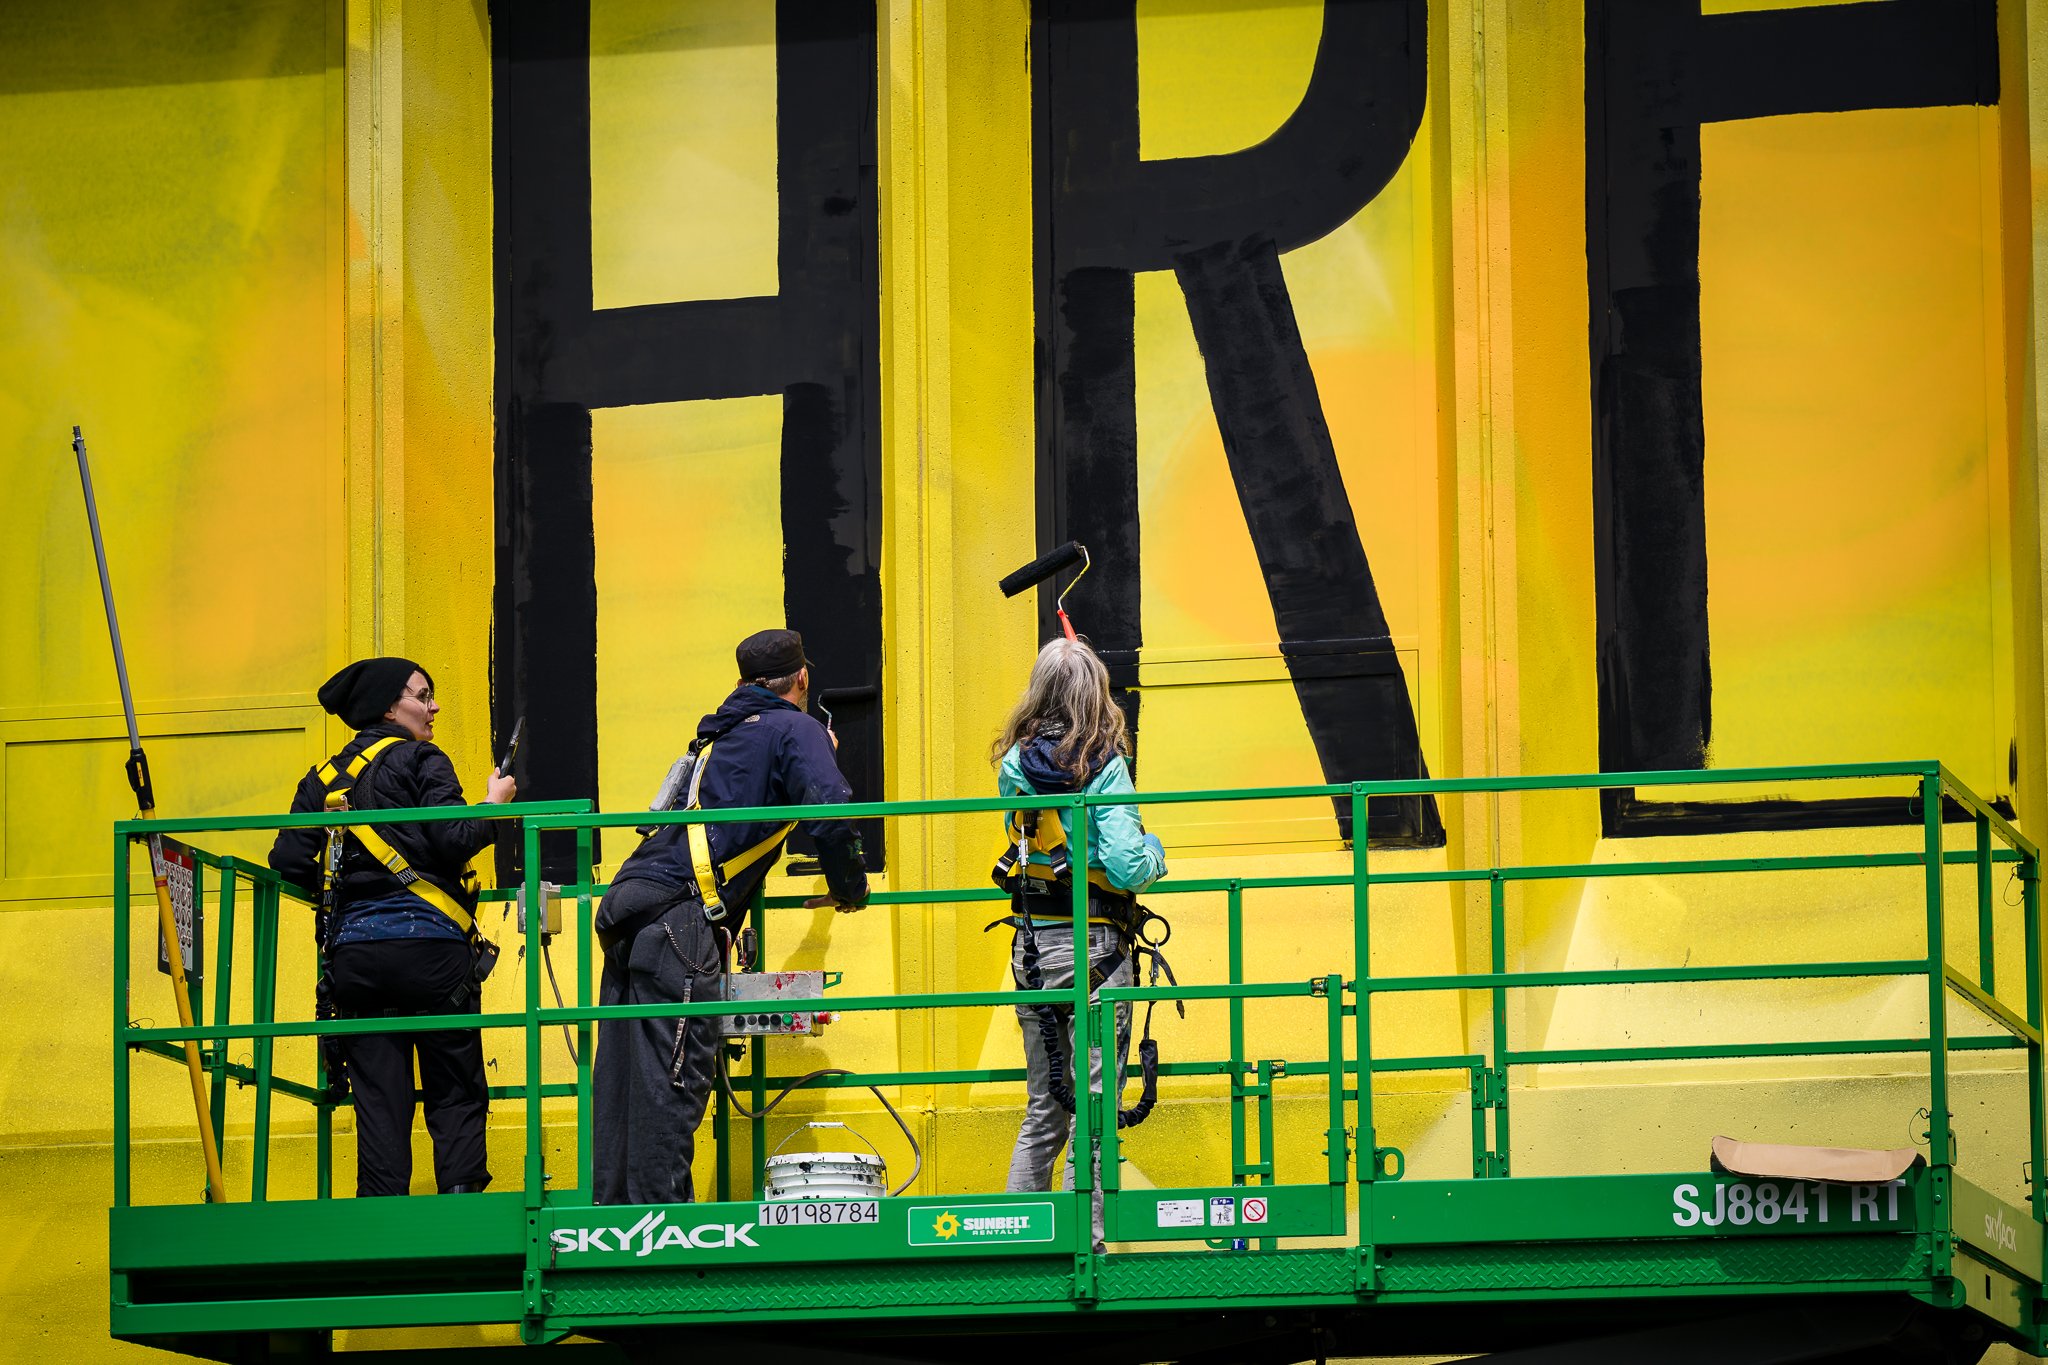
Congratulations on joining the You Are Not Alone Murals movement! We’re thrilled that you have decided to paint a mural for this cause and we want to support you in completing your masterpiece. This page is your go-to resource for tips on both painting and documenting your stunning mural. Let's make your artistic journey as smooth and rewarding as possible!
Tips for Painting
Whether you're a seasoned muralist or a first-timer, we're here to help! Explore our resources, insights, techniques, and inspiration to elevate your mural game.
-
1. Wall Inspection /Repair :
Identify any cracks, peeling paint, or imperfections. Patch any holes or cracks with exterior-grade spackle or filler. Sand the patched areas to create a seamless surface. Addressing these issues beforehand ensures a smooth canvas for your mural.
2. Cleaning Wall:
Cleaning the wall surface with water is optional depending on how dirty the wall is. Excessively dirty walls will effect paint adhesion and the murals longevity. Allow it to dry completely. Apply a suitable primer to enhance paint adhesion and create a consistent base.
3. Priming WallApply a suitable primer to enhance paint adhesion and create a consistent base. Wall must be dry before primer is applied.
-
Brushes and Rollers:
Invest in a variety of brushes and rollers suitable for different textures and details. Generally, brushes are for detail and rollers are for covering surface area quickly. (Not necessarily needed if the mural will be painted with spraypaint)
Paint Trays and Palettes:
paint trays for rollers and palettes to organize your colors efficiently. This ensures a smoother workflow.
Ladders and Scaffolding:
Depending on the mural's height, secure reliable ladders or scaffolding for safe and convenient access. Safety is very important. Ensure you have proper permits sand harness for very large murals.
Drop Cloths and Masking Tape:
Protect surrounding areas by using drop cloths to catch drips and spills. Masking tape to create clean and precise edges. -
Acrylic/Latex House Paints
Acrylic paints are versatile and well-suited for mural painting. They dry quickly, allowing for layering, and are resistant to fading, ensuring the longevity of your artwork.
Exterior-grade Paints:
Choose paints specifically designed for exterior use. These paints are formulated to withstand weather conditions, preventing color fading or peeling over time.
Aerosol or Spray Paints:
Consider using aerosol or spray paints for certain effects or intricate details.
Sealers and Varnishes:
Finish your mural with a clear sealer or varnish to protect it from UV rays, weather elements, and potential vandalism. -
Grid System:
Divide your design into a grid and replicate the same grid on your wall. This method allows for precise scaling and ensures accurate placement of elements on the larger surface.
Projector:
Use a projector to display your design directly onto the mural surface. This method is particularly helpful for intricate designs or when precision is crucial.
Freehand Sketching:
If you possess strong drawing skills, freehand sketching directly onto the wall can be a dynamic and personal approach. Start with light pencil/charcoal outlines before committing to paint.
Transfer Paper or Tracing:
Create a smaller version of your design on transfer paper or tracing paper. Transfer the image onto the wall using carbon paper or a similar tracing method. -
Tips for Documenting
Documenting your mural is an important part of the process and allows us to share your work with the larger YANAM community. Check out the tips and tricks below for successful mural documentation!
-
Ask a friend to help you with the documentation process. They don’t have to be a pro! Having an extra pair of hands ensures that you can focus on your art while someone else captures the moment.
-
Capture both vertical and horizontal shots to provide a comprehensive view of your artwork. This is especially important so we can share your work on various platforms, that have different frame ratios.
-
Experiment with dynamic shots by incorporating both panning and still shots. Panning shots can showcase your entire workspace and the context of your creative process, while still shots allow viewers to appreciate the finer details of your artwork. (Long shots are better, 5+ seconds)!
-
Give the audience a glimpse into the tools of your trade. Capture close-ups of your brushes, paints, easel, or any other equipment you use. These shots add a personal touch and provide insight into your creative process.
-
Document the progression of your artwork. Start with an empty wall, capture key stages like the first coat or initial sketches, and conclude with shots of the final product. This progression allows viewers to appreciate the evolution of your work.
TIPS FOR FINANCES
Check out this free mural pricing guide courtesy of PANDR.
REQUESTING A WALL
Check out our wall request letter template. Feel free to use this to write to wall or business owners.
General Guides + Opportunities
Below are some of our favorite resources for open calls and advice:


